Introduction
Setting up an Azure AD Tenant for cloud identity management can be quite challenging for organizations. However, Microsoft Azure Active Directory (Azure AD) emerges as a beacon of security, offering a platform that’s both robust and accessible. Consequently, this guide focuses on a unique proposition: creating and activating an Azure AD tenant and the Azure ENTRA ID P2 trial exclusively via the Azure portal. This method underscores simplicity and directness, thereby appealing to both seasoned IT professionals and newcomers alike. Therefore, let’s embark on a journey to establish a secure, scalable identity management foundation within Azure.
Steps to Create a New Azure AD Tenant in the Azure Portal
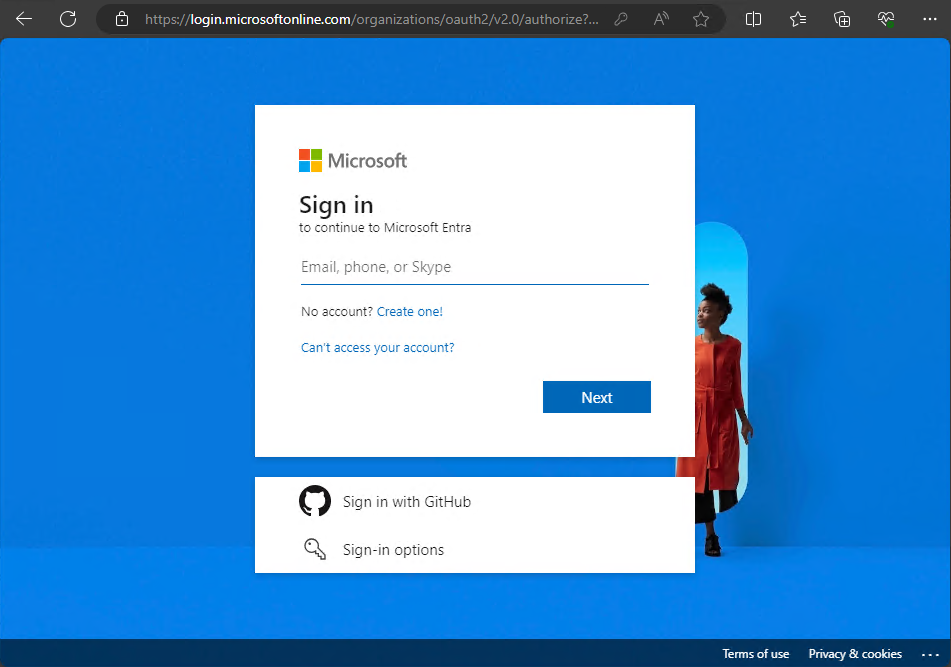
- Navigate to the Azure Portal: Begin by logging into the Azure Entra portal and signing in with your personal account. This is your gateway to creating a new Azure AD tenant without the need for external tools or scripts.
- Select Azure Active Directory: Once inside, locate and click on “Azure Active Directory” from the dashboard. This action sets the stage for creating your tenant directly in the portal.
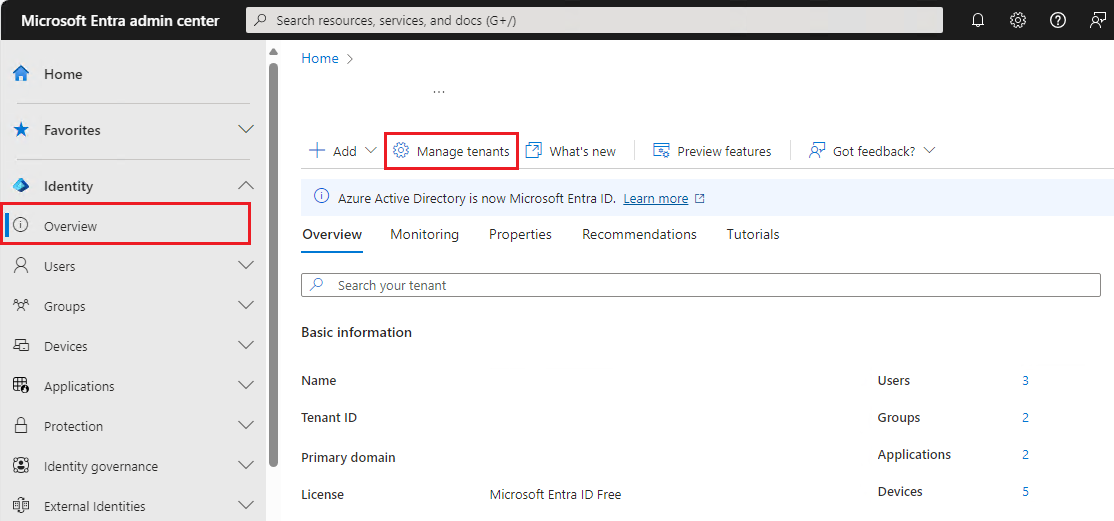
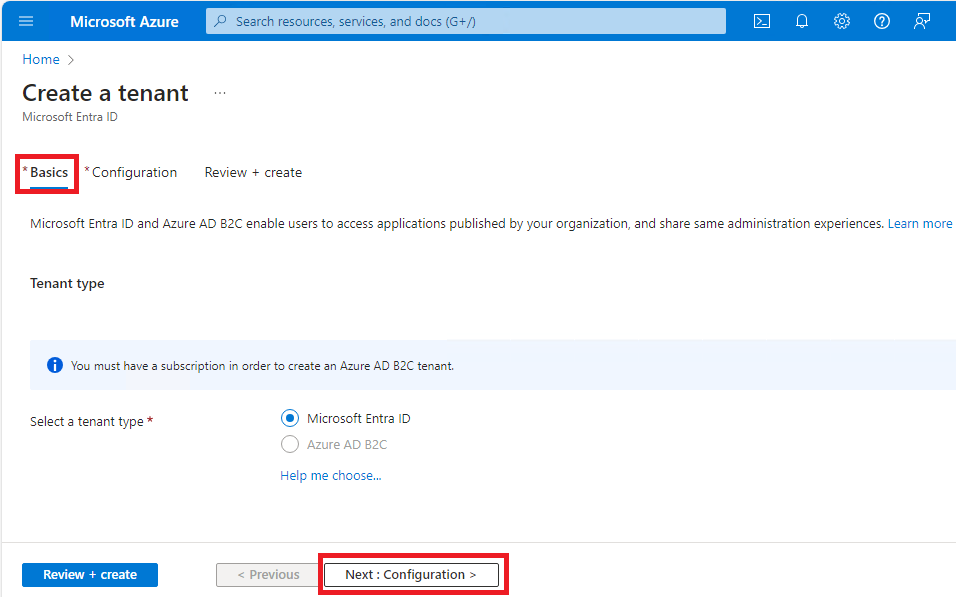
- Initiate Tenant Creation: Find the option to create a new tenant and fill out the “Basics” tab. This step is crucial and made straightforward through the portal’s guided process.
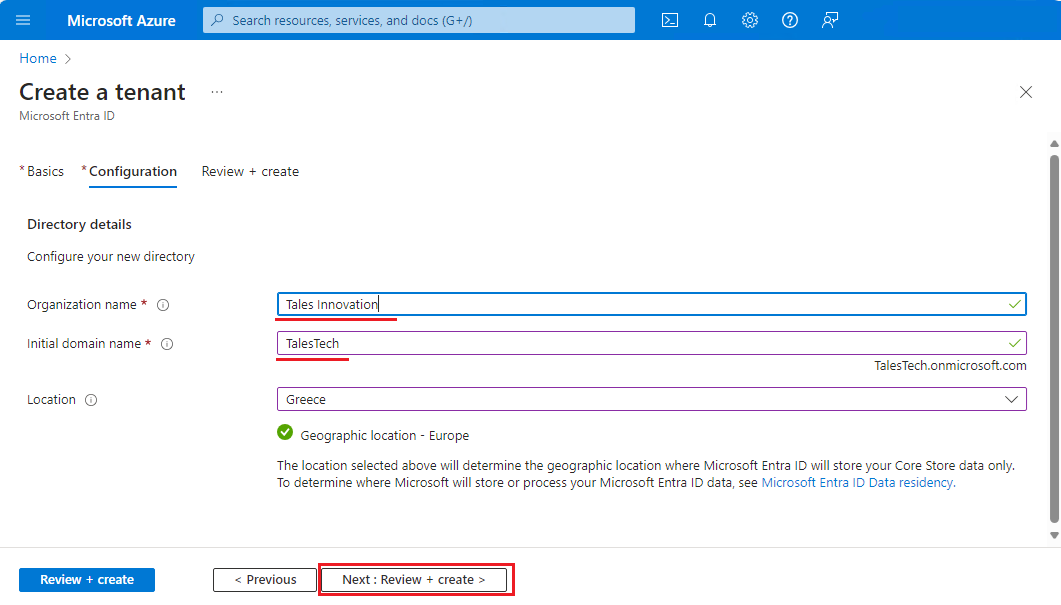
- Provide your tenant details: Move to the Configuration tab to input your tenant’s specifics. Keep in mind that the initial domain name is a global unique name. The portal simplifies this process, ensuring you don’t miss any essential information.
- Review and Create Your Tenant: After entering your details, proceed to the Review + Create tab. A simple confirmation leads to the creation of your Azure AD tenant, showcasing the portal’s efficiency.
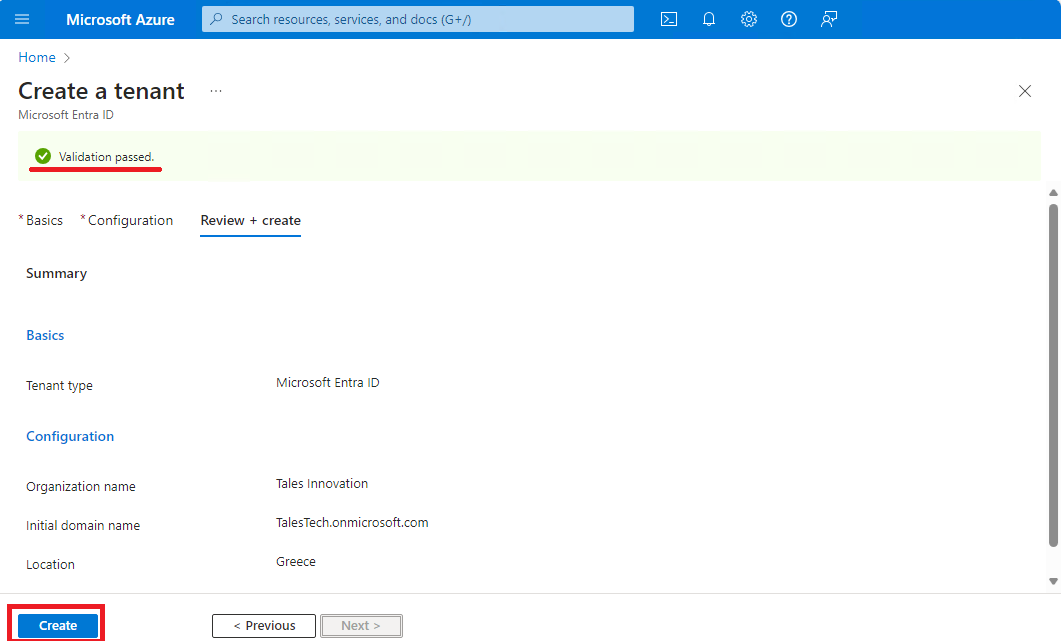
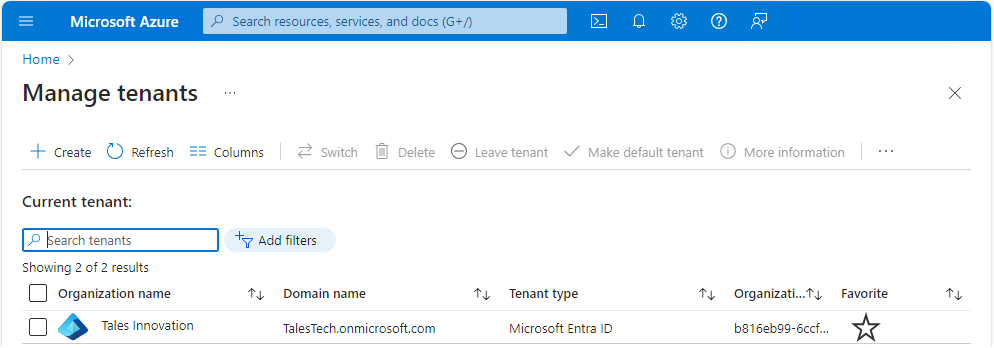
- Tenant Creation Notification: Await a notification in the portal confirming your new Azure AD tenant is set and ready to use.
Activating Azure ENTRA ID P2 via the Azure Portal
- Access Licenses in Configuration: With your tenant ready, head over to the Configuration tab again and select “Licenses” to navigate towards activating premium features.
- Engage with All Products: Click on “All products,” then “Try / Buy” to find the Azure ENTRA ID P2 offer, a seamless process facilitated by the portal.
- Activate Your Premium Trial: Choose the Azure ENTRA ID P2 trial and activate it with a click. The portal makes this activation as easy as flipping a switch.
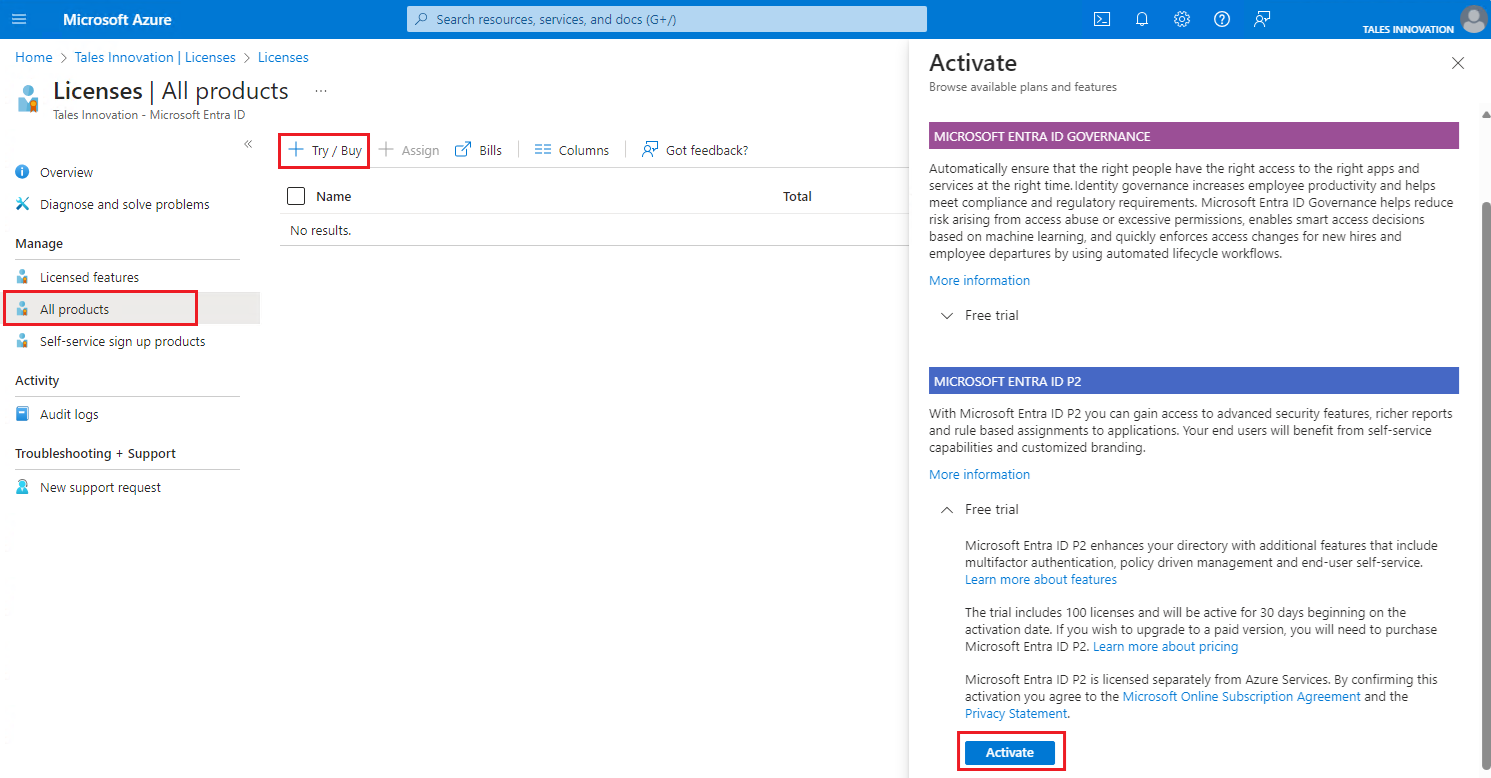
- Confirmation of Activation: Look for a quick notification confirming your premium trial’s activation, a testament to the portal’s prompt update system.
Conclusion
By following this guide, you have successfully set up a new Azure AD tenant and activated the Azure ENTRA ID P2 trial, all within the Azure portal. You now have a solid foundation in place that offers improved security and efficient identity management for your organization.
As we wrap up this chapter, keep in mind that there is still so much more to explore and discover in Azure AD’s vast array of features. In the upcoming chapter, we will explore the topic of “Creating and Configuring Azure AD Users,” providing you with a more in-depth understanding of how to enhance the functionality of your tenant. Stay tuned to enhance your identity management strategy to new heights, all within the user-friendly confines of the Azure portal.