Introduction
Azure Active Directory (Azure AD) Groups is a pivotal feature for efficiently managing group memberships and enhancing productivity within organizations. Whether you prefer a graphical interface or command-line tools, Azure AD provides versatile options for creating and managing groups. This comprehensive guide will walk you through the processes of establishing groups in Azure AD using both the Azure portal and PowerShell.
Steps to Create an Azure AD Group
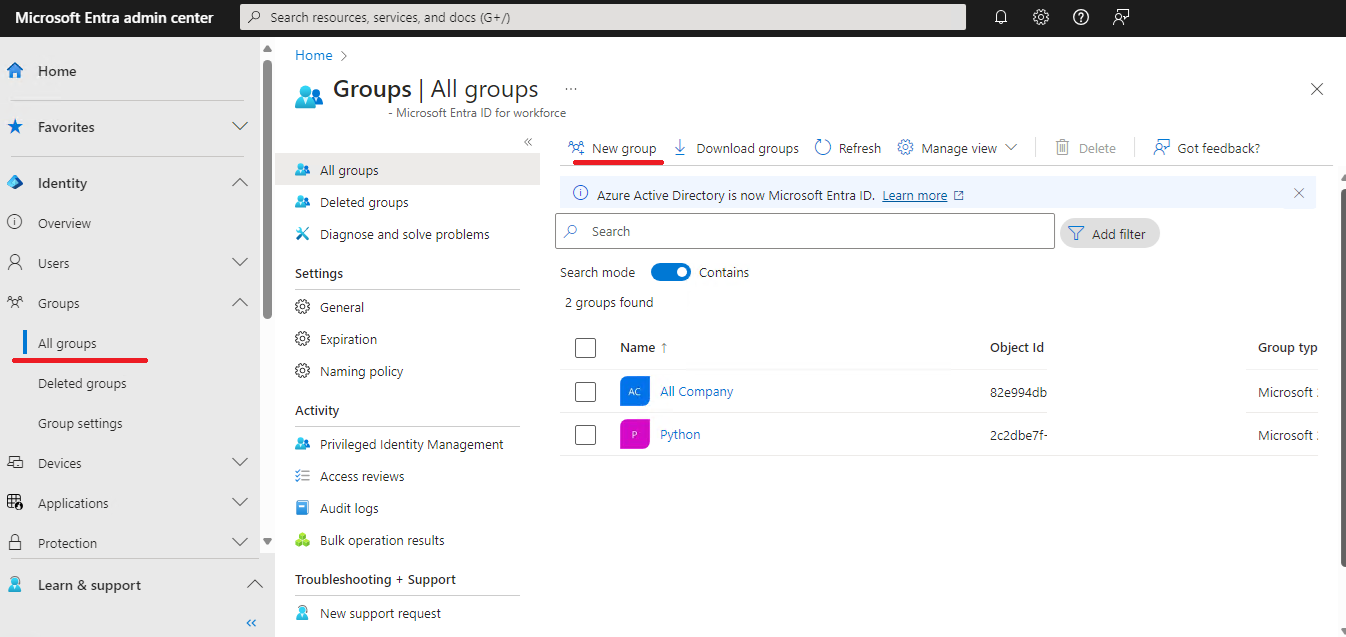
- Navigate to Azure AD Groups: Start by accessing the Microsoft Entra portal. Within Azure AD, locate and select the “Groups” option, then click on “New group” to initiate the creation process.
- Define New Group Settings: Fill in the details for your new group, including its name, group type, and membership type. After that, press the create button.
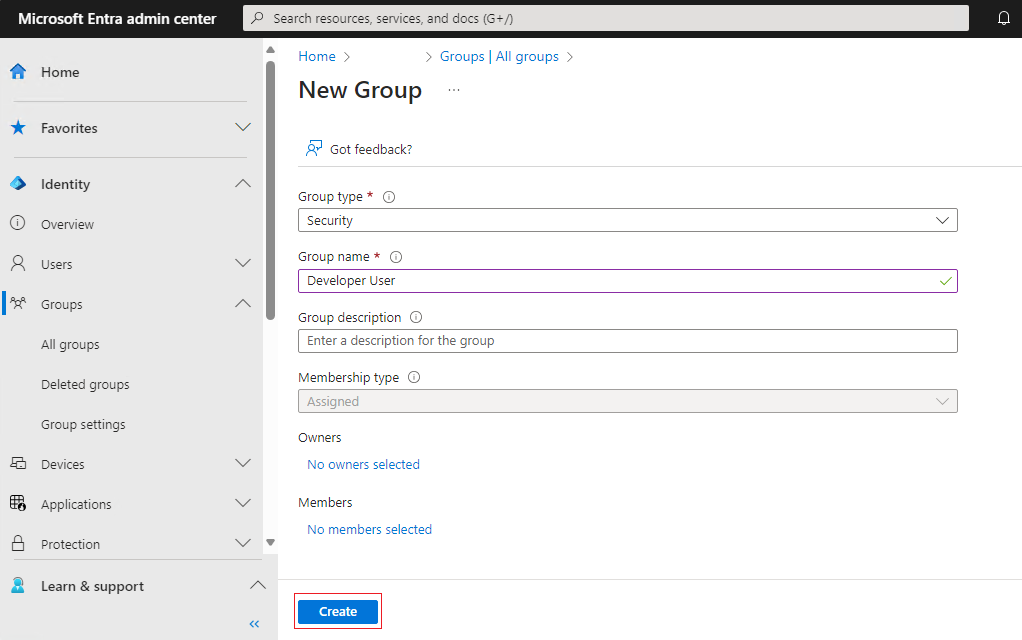
Security Type Notes:
- Security groups are used to give group members access to applications, resources, and licenses. Group members can be users, devices, service principals, and other groups.
- Microsoft 365 groups are used for collaboration, giving members access to a shared mailbox, calendar, files, SharePoint site, and so on. Group members can only be users.
Create and Assign Users to Azure AD Group via the Azure Portal
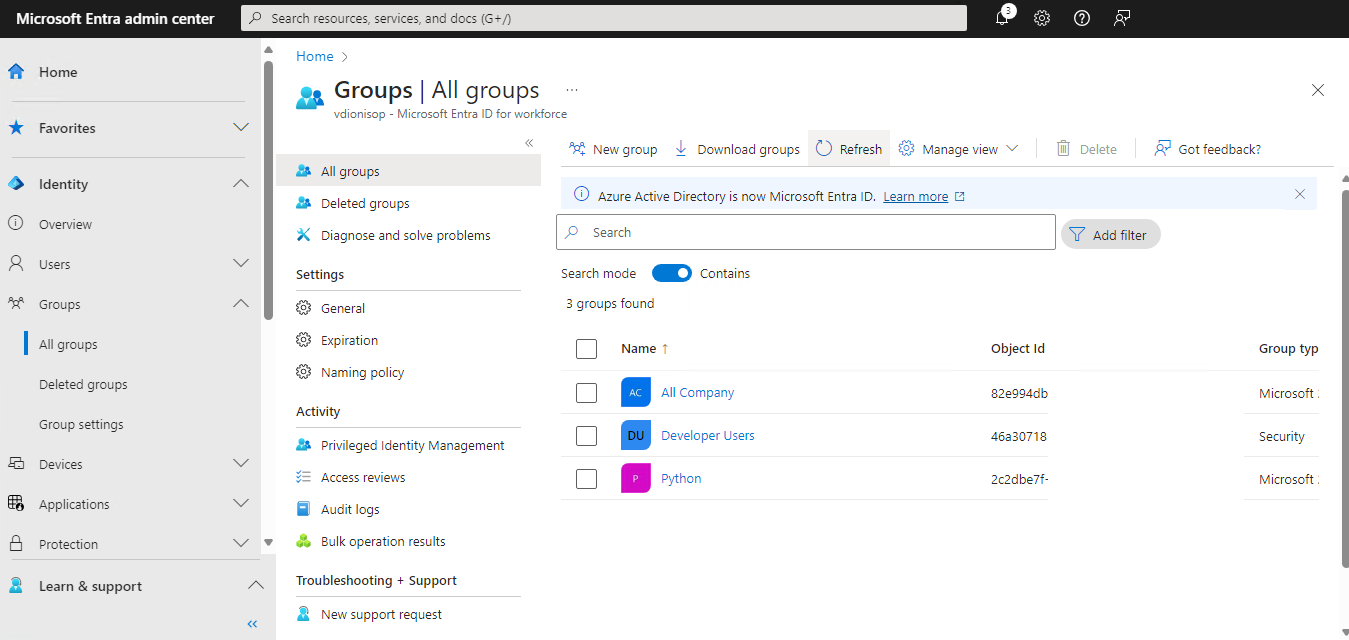
Accessing Group Management: Once your group is created, navigate to the Azure portal’s group management page by selecting your group from the list within the “Groups” section.
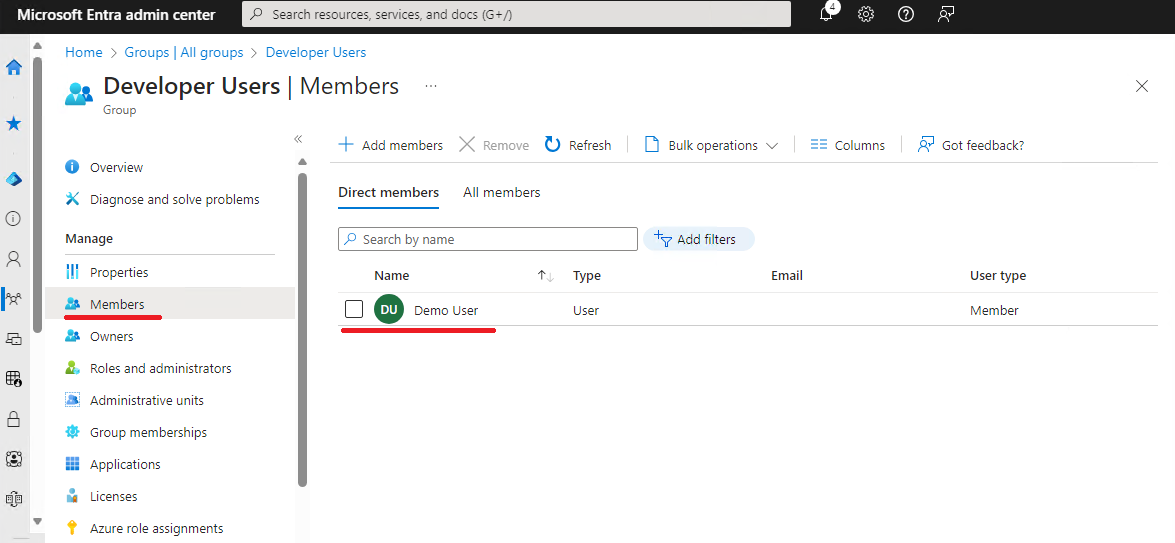
Adding Members to the Group:Inside the group’s details page, find and click on the “Members” option, then select “Add members.” You will be prompted to search for and select the users you wish to add to the group. After selecting the users, confirm the additions.
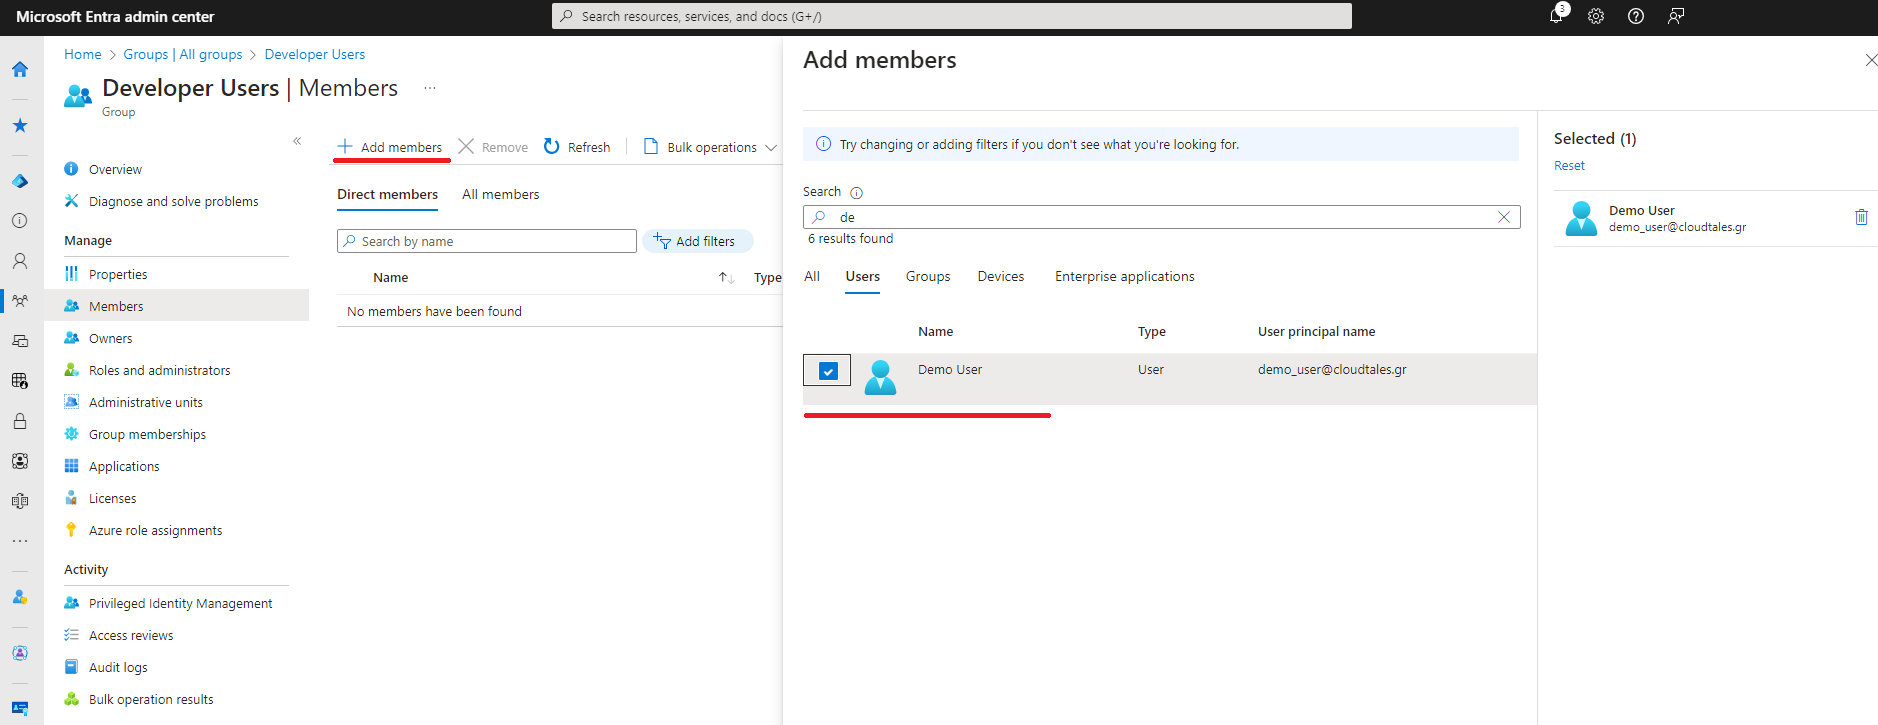
Review and Confirm Membership: Once users are added, review the member list to ensure accuracy. This can be done in the “Members” section, where all current members of the group are listed.
PowerShell Scripts for Group Creation and User Assignment
Creating a New Azure AD Group with PowerShell: To create a new Azure AD group via PowerShell, use the following script. This example creates a security group named “ProjectTeam” with a description.
PS C:\Users\user>Install-Module AzureAD //Install AzureAD Module
PS C:\Users\user>Import-Module AzureAD //Import AzureAD Module
PS C:\Users\user>Connect-AzureAD //Login to Entra Console

# Create a new Azure AD group
PS C:\Users\user>New-AzureADGroup -DisplayName "ProjectTeam" -Description "Group for Project Team Members" -MailEnabled $false -SecurityEnabled $true -MailNickName "ProjectTeam"
And the output:

Assigning Users to the Group: After creating the group, you can assign users to it using their Object ID. You’ll need the Object ID of the group and the user. Here’s how to add a user to the group:
PS C:\Users\user>Get-AzureADUser -SearchString "UserPrincipalName"
# Replace 'YourGroupId' with the actual Object ID of your group
# Replace 'UserObjectId' with the Object ID of the user you want to add
PS C:\Users\user>Add-AzureADGroupMember -ObjectId "YourGroupId" -RefObjectId "UserObjectId"
Conclusion
Azure AD Groups facilitate streamlined user management, whether through the intuitive Azure portal or the powerful automation capabilities of PowerShell. By combining these methods, organizations can leverage Azure AD’s flexibility to enhance security, productivity, and policy adherence. Embrace the method that aligns with your operational preferences and expertise to optimize your Azure AD management strategy.